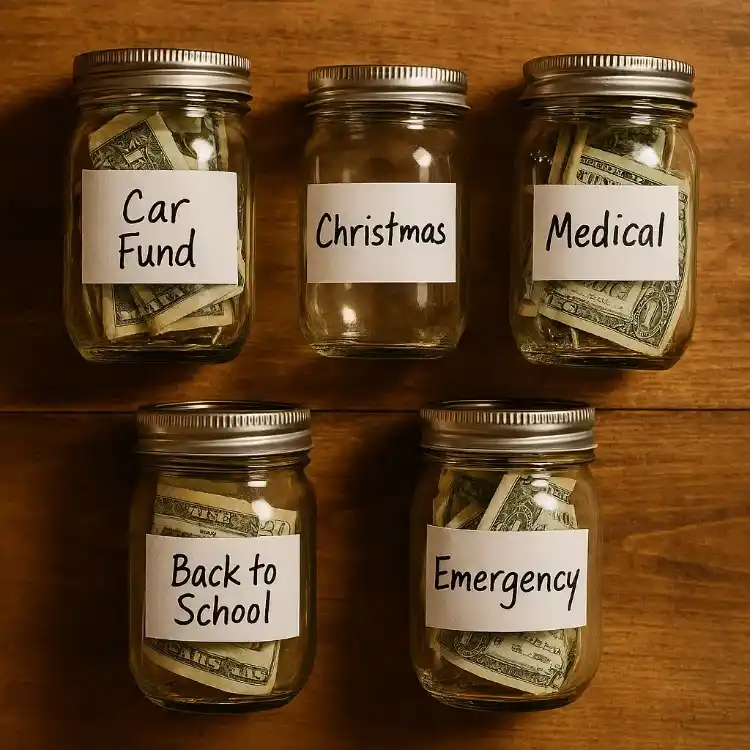
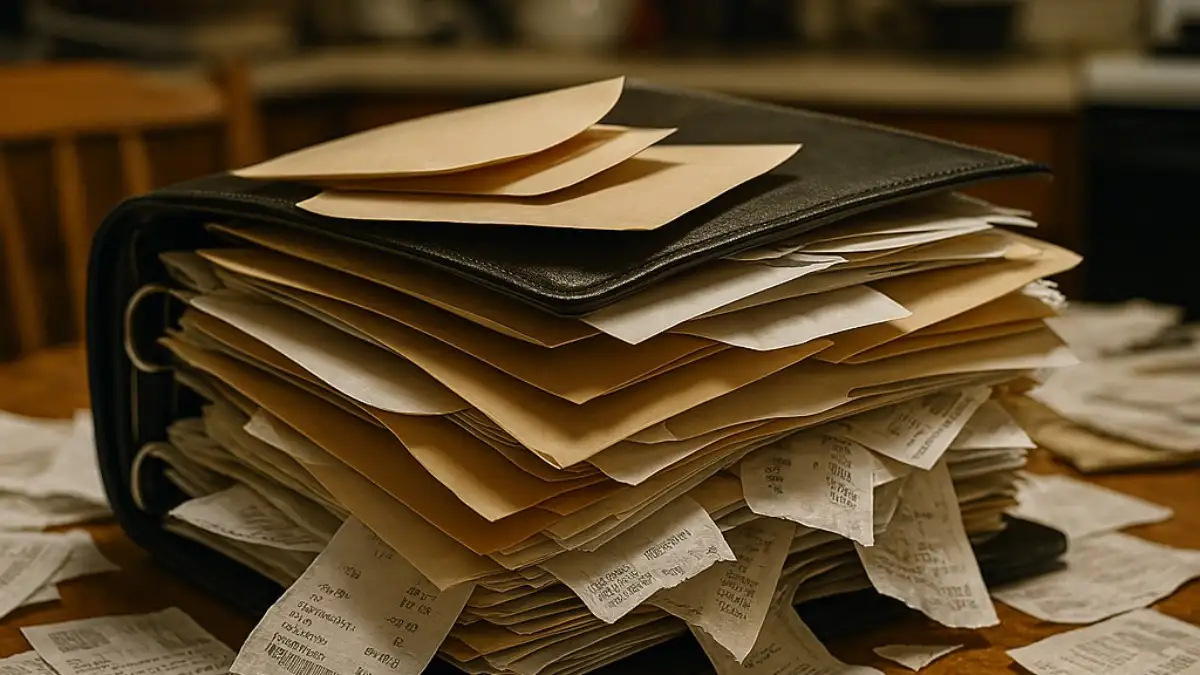
Payday arrives. The money hits your account. You have cash in hand, and for a brief second, you feel okay. But you have no system. Before the week is even over, the money just disappears. I remember that panic vividly. Sitting on the edge of my bed, staring at receipts, wondering where my paycheck vanished to. When you are living paycheck to paycheck, every single dollar feels like a life-or-death decision. You try to keep track of spending in your head, but life gets loud.
Here is the thing. You do not need to be a math genius to fix this. You just need a physical system you can actually touch. Choosing the right cash stuffing binder categories changes the game completely. It stops the silent bleeding of your bank account.
By the end of this guide, you will know exactly which binder categories to use, how to set everything up from scratch, and how to make it work even when money is really tight.
What is a Cash Stuffing Binder?
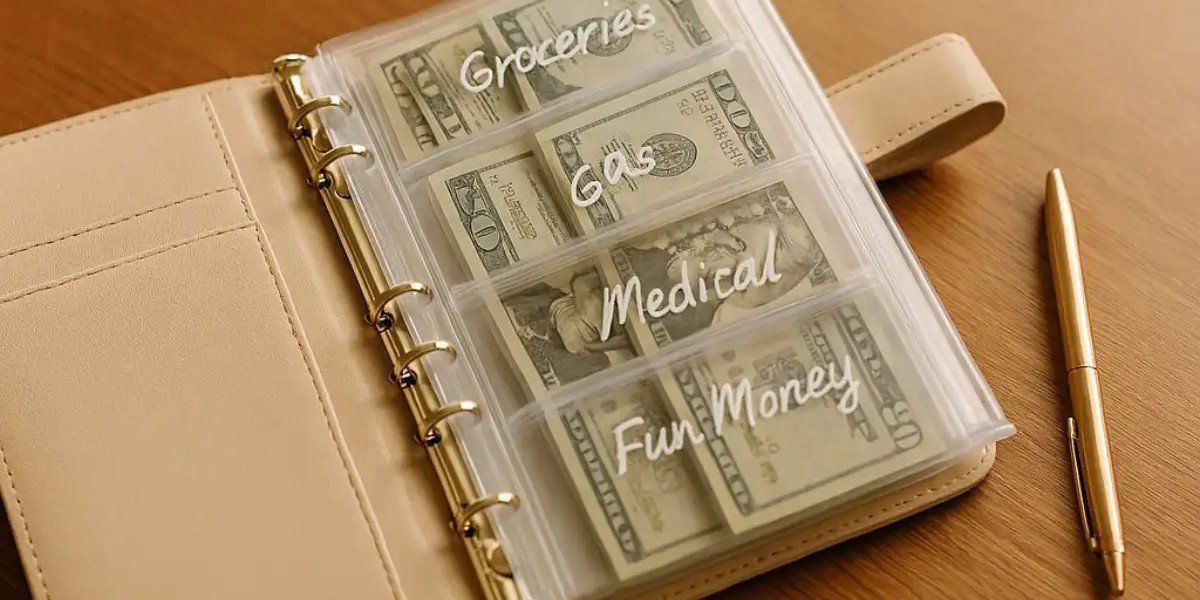
A cash stuffing binder is a physical budget organizer where you store paper money inside labeled transparent envelopes, dividing your cash into specific spending categories for the month. Instead of swiping a debit card and hoping for the best, you only spend the physical bills assigned to each pouch.
When you use loose envelopes, they get crushed at the bottom of your bag. A binder changes that. It is the perfect system for a low-income budget because everything lives in one secure place. It is harder to lose, significantly easier to track, and gives you a visual boundary. When the pouch is empty, you stop spending.
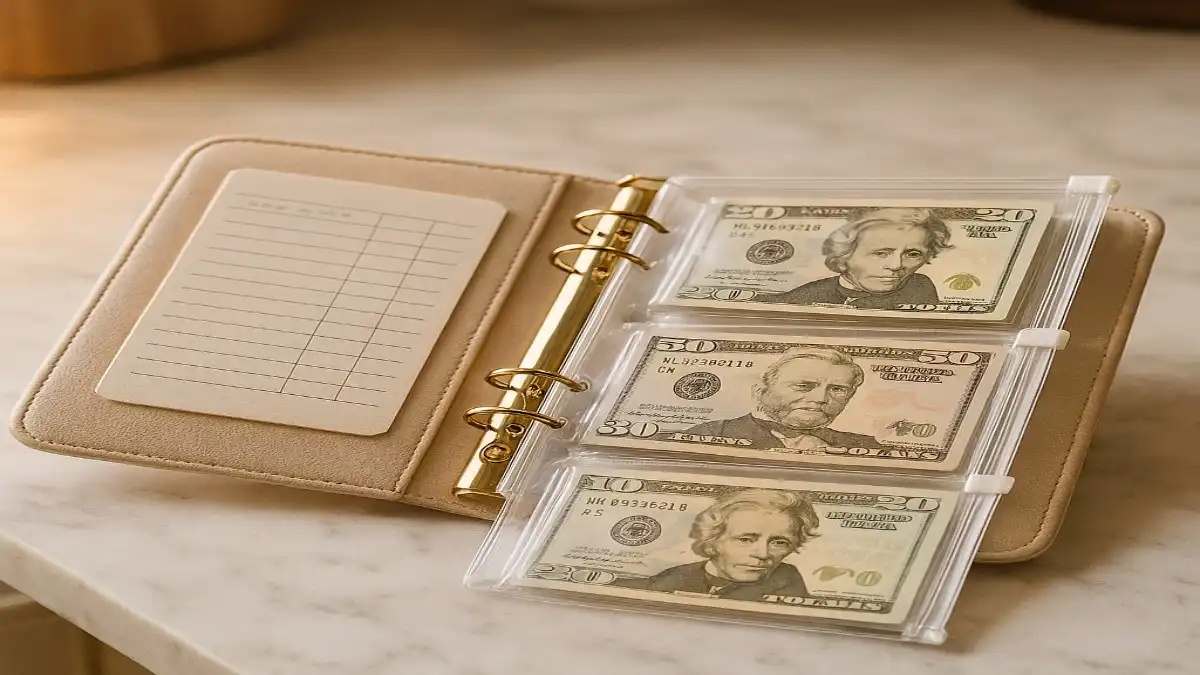
This modern twist gets its original inspiration from the Dave Ramsey envelope system. He taught us to separate cash, but the budget binder makes it secure and visual.
When I set up my first cash stuffing binder, I used a $2 binder from Dollar Tree and printed my categories on plain paper. It was not pretty. But it worked beautifully.
Even a $1 binder gets the job done.
Binder vs Loose Envelopes: Which is Better?
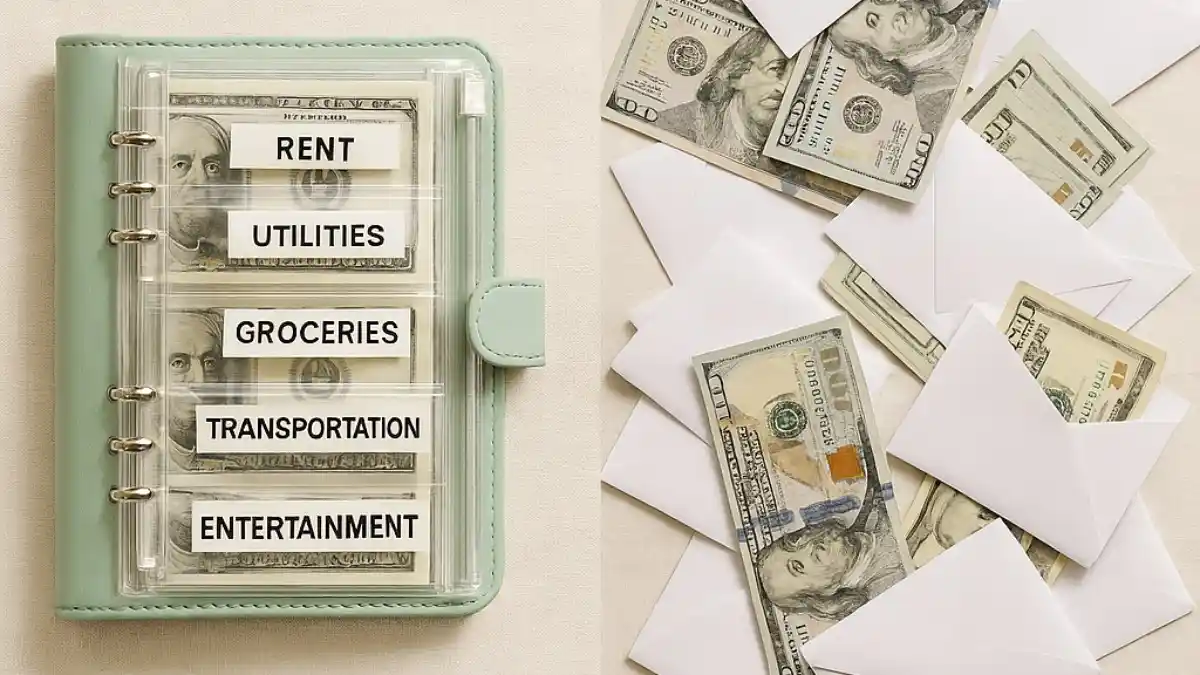
Should you use a binder or stick to plain paper envelopes? Both absolutely work, but a binder is significantly more organized.
If you just grab white mailing envelopes, they tear easily. They get mixed up with your junk mail. A binder protects your cash envelope system and turns your budget into a portable dashboard.
| Feature | Cash Stuffing Binder | Loose Envelopes |
| Organization | Highly organized | Can get messy |
| Cost | $2 to $15 | $1 to $3 |
| Portability | Fits perfectly in a purse | Easy to carry |
| Visibility | See all at once | Must search through |
| Beginner friendly | Very easy | Simple to start |
| Customizable | Highly customizable | Limited options |
| Best for | Visual people | Minimalists |
Loose envelopes are a fantastic starting point. If you are exploring cash stuffing for beginners, plain paper works perfectly for your first week. However, the binder is the ultimate long-term zero-based budget tool. It prevents you from losing your grocery money in the car console.
Start with envelopes if you have them. Upgrade to a binder when you are ready. Either way, you are already ahead of most people.
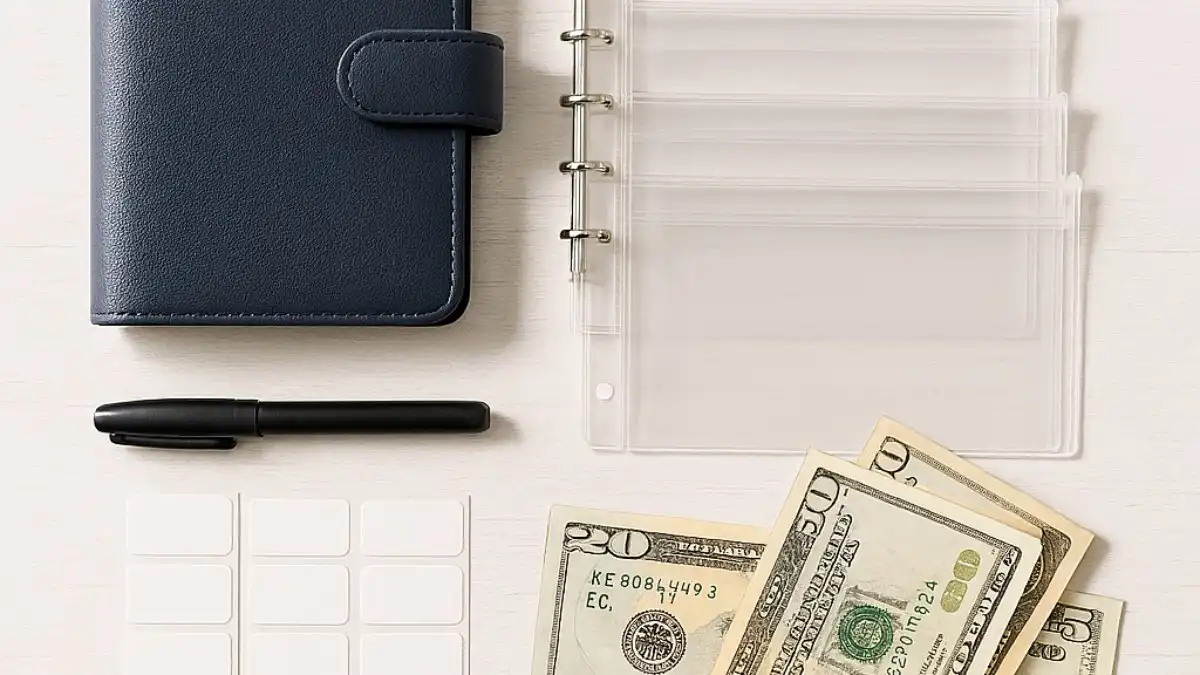
What You Need to Set Up Your Binder
I know this sounds too simple, but you do not need to spend massive amounts of money to get organized. Keep it cheap, especially when you are just starting out.
BUDGET OPTION (Under $5):
- $1 to $2 mini binder from Dollar Tree
- Plastic page protectors or simple zip pouches
- Printed or handwritten category labels
- A plain pen and paper for tracking your spending
UPGRADE OPTION ($10 to $20):
- A6 or A7 size binder (easily found on Amazon or Etsy)
- Pre-made clear cash envelopes with dividers
- A printed budget dashboard
- Custom stickers for your spending categories
When I first started, I used my cheap Dollar Tree supplies for three solid months. Once I proved to myself that the system actually worked, I finally rewarded myself with a $15 A6 binder.
Your binder does not need to be the pretty ones you see on TikTok. It needs to work for your real life. Try using a bare bones budget template to plan your numbers first.
You have got this.
How to Set Up Your Cash Stuffing Binder: Step by Step
Building your system takes about thirty minutes. Grab a cup of coffee, clear off your kitchen table, and let’s build your financial safety net.
1: Choose Your Binder Size
You need to pick a size that fits your lifestyle. An A6 binder is small and extremely purse-friendly. An A7 binder is tiny and great for minimalists. A full-size binder offers the most space but is strictly for home use.
An A6 binder is the most popular choice for cash stuffing because it perfectly fits standard paper bills without folding them.
2: Decide Your Categories First
Before you buy anything, know your categories. This is the most important step. Do not buy a pack of fifty labels if you only need five.
Teaser: A full, detailed category list is coming up right below.
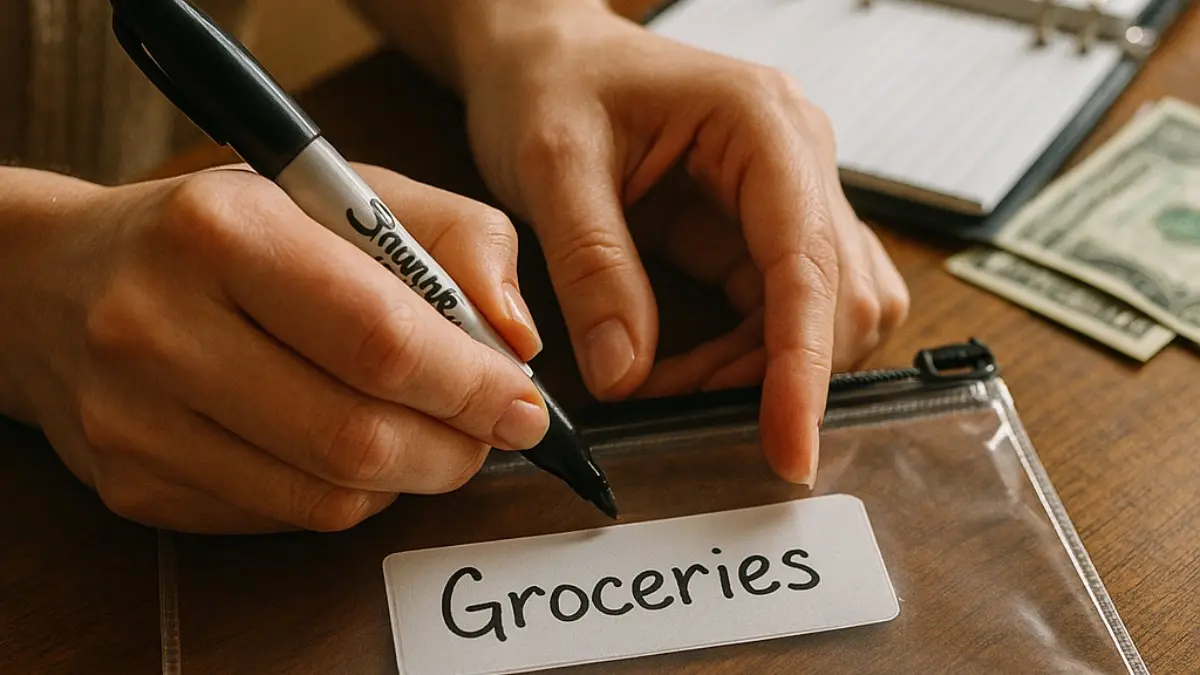
3: Label Your Envelopes or Pouches
Keep the design clean. Handwritten labels in Sharpie are perfectly fine. If you want a cleaner look, print text on paper and slide it into the pouch. Use exactly one label per category to keep things clear and simple.
4: Create Your Budget Dashboard
The very front page of your binder needs to be your income tracker. Write your total monthly income at the top. List all your budget categories below it with their assigned dollar amounts. Add a running total column so you know where every penny is assigned.
5: Calculate How Much Goes In Each
Use a basic formula. Take your monthly income, subtract your fixed bills first, and take the remaining cash to divide into your categories. If you are struggling with the math, look into the 50/30/20 rule for low income to find your baseline percentages.
6: Withdraw Cash on Payday
Go to the bank on the same day you get paid. Withdraw your specific budgeted cash amount. Come straight home and stuff your envelopes immediately.
Do this before you spend a single dollar on anything else. Delaying this step is how budgets fall apart.
7: Track Every Transaction
Keep a small notepad or a printed tracker sheet inside your binder. Write down the date and amount every single time you take money out. That running balance keeps you completely honest.
Sitting at my kitchen table on payday, slipping those $20 bills into my new envelopes, I felt something I had not felt in years. I felt entirely in control.
Trust me on this one.
Best Cash Stuffing Binder Categories for Low Income
Here is what you came for. According to NerdWallet, dividing your cash into specific, intentional groups is the key to stopping overspending. These are the exact cash stuffing binder categories that make the biggest difference when money is tight.
To keep you from getting overwhelmed, we will divide these into three clear groups.
GROUP A: MUST HAVE CATEGORIES
Start with these. They are completely non-negotiable. If you only have four envelopes, they need to be these.
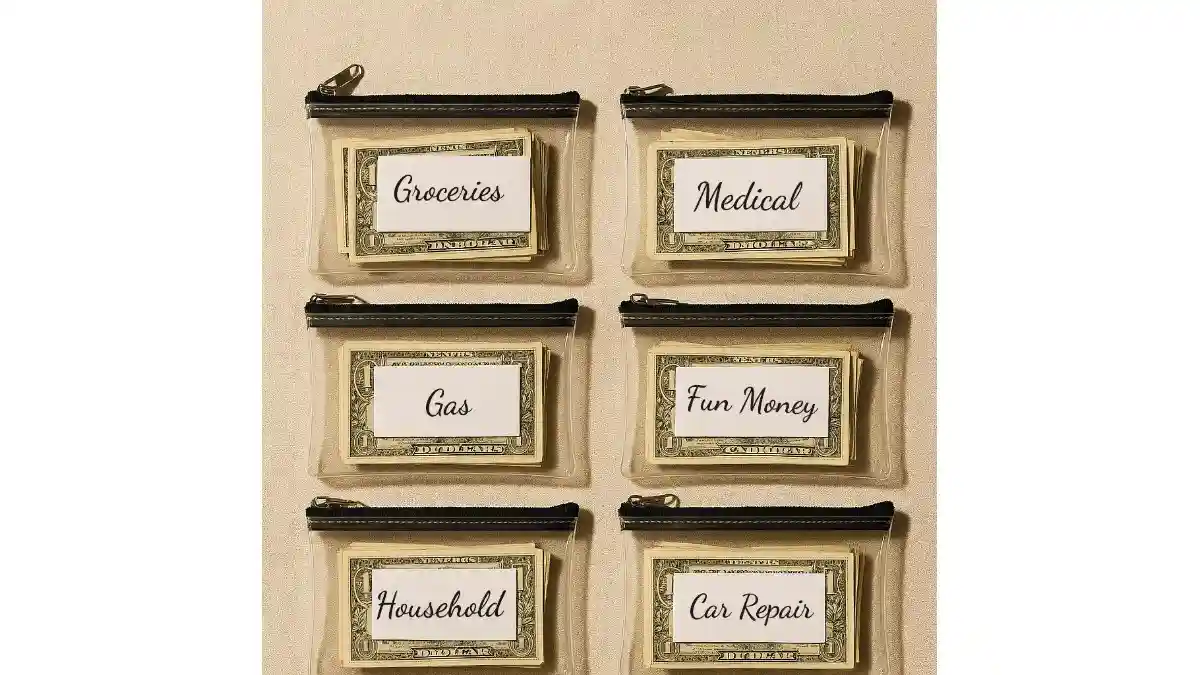
1. Groceries
Amount: $150 to $300, depending on family size
This is your most important envelope. Food is where most low-income budgets leak money. You run to the store for milk and leave with $40 worth of snacks. Having physical cash creates a hard stop.
Advice: Meal plan before shopping — always. Look into an Aldi meal plan for $50 a week to stretch this envelope incredibly far.
2. Gas / Transportation
Amount: $60 to $150/month
You have to get to work to make money. This envelope protects your commute.
Fill up when your tank is half empty — never run to empty. It prevents emergency fuel stops at expensive stations.
3. Rent / Mortgage (tracker only)
Amount: Your exact rent amount
Note: Rent is usually paid by check or online portal. Do not carry $1,000 in cash if you do not have to. Use this envelope strictly as a tracker sheet, not a cash holder.
4. Utilities Buffer
Amount: $30 to $60 buffer above the bill
Your electric bill changes monthly depending on the weather. Keep a small buffer in this envelope so you are never caught short when a high bill hits.
5. Phone Bill (tracker)
Amount: Your exact bill amount
Like rent, this is usually on autopay. Track the exact amount in your binder so you remember it is coming out of your checking account.
GROUP B: IMPORTANT CATEGORIES
Once your Group A envelopes are mastered, you can add these lifestyle categories.
6. Debt Payoff
Amount: Minimum + whatever extra possible
Even paying $25 extra matters tremendously. Put the extra cash here, and at the end of the month, deposit it to make a bonus payment. If you are struggling, learn how to get out of debt with no money to build a strategy.
7. Groceries Buffer / Eating Out
Amount: $20 to $40
Separate this completely from your main grocery envelope. This cash is specifically for those exhausting days when you just cannot cook. It gives you permission to grab a cheap pizza without ruining your food budget.
8. Household Supplies
Amount: $20 to $40/month
Laundry detergent, cleaning products, toilet paper, and paper towels. They add up fast, so they need their own boundary.
9. Medical / Copays
Amount: $20 to $50/month
Keep this on hand for quick pharmacy runs, unexpected prescriptions, or routine doctor and dental visits.
10. Kids / School
Amount: $20 to $50/month
Kids always need last-minute snacks, poster boards for projects, or field trip money. Having a dedicated envelope stops the morning panic.
GROUP C: SINKING FUND CATEGORIES
Add these slowly once Group A and B are running smoothly.
11. Car Repair Fund
Amount: $30 to $50/month
Tires go flat. Oil needs changing. Building this is vital. If you do not know where to start, read up on sinking fund categories to protect your vehicle.
12. Holiday / Christmas Fund
Amount: $20 to $50/month
Start stuffing this envelope in January. No exceptions. December happens at the exact same time every single year.
13. Clothing Fund
Amount: $15 to $30/month
Kids grow unbelievably fast. Budget a small amount monthly so you are ready when their shoes suddenly stop fitting.
14. Emergency Buffer
Amount: $20 to $50/month
This is different from a massive emergency fund in the bank. This envelope is for small, annoying surprise expenses under $100.
15. Personal / Fun Money
Amount: $10 to $25/month
Yes, even on a low income, you absolutely deserve something for yourself. Even $10 matters. Buy a coffee. Buy a cheap book. This keeps you from burning out.
BONUS CATEGORIES (Optional)
- 16. Pet Care — $20 to $40/month
- 17. Beauty / Personal Care — $15 to $25
- 18. Subscriptions — exact amount
- 19. Gifts — $10 to $20/month
- 20. Savings Goal — whatever possible
Here is a full summary of how these rank.
| Category | Group | Monthly Amount | Priority |
| Groceries | A | $150-$300 | Must Have |
| Gas/Transport | A | $60-$150 | Must Have |
| Utilities Buffer | A | $30-$60 | Must Have |
| Phone Bill | A | Exact amount | Must Have |
| Debt Payoff | B | $25+ | Important |
| Eating Out | B | $20-$40 | Important |
| Household | B | $20-$40 | Important |
| Medical | B | $20-$50 | Important |
| Kids/School | B | $20-$50 | Important |
| Car Repair | C | $30-$50 | Sinking Fund |
| Christmas | C | $20-$50 | Sinking Fund |
| Clothing | C | $15-$30 | Sinking Fund |
| Fun Money | C | $10-$25 | Self Care |
Start with Group A only. Just 4 to 5 envelopes. Master those first. Then, slowly add Group B. Group C comes when you are truly ready.
This changed everything for me.
How Many Categories Should a Beginner Start With?
A beginner should start with a maximum of 4 to 6 categories.
Let me be real with you. If you jump in and create twenty different envelopes on your first day, you will fail. Too many categories mean you get completely overwhelmed and quit. Too few categories mean you do not have enough control over your specific problem areas.
Here is the perfect beginner starter pack.
PERFECT STARTER BINDER (4 categories):
- Groceries
- Gas
- Household Supplies
- Fun Money
That is it. Four envelopes. Master these for 30 days. Then add more.
| Experience Level | Categories |
| Week 1 Beginner | 4 to 5 |
| Month 2 | 6 to 8 |
| Month 3+ | 10 to 15 |
| Advanced | 15 to 20 |
Trying to track twenty categories immediately is one of those toxic money habits to avoid. Keep it small.
Four categories and $5 in each is a better start than zero categories and a perfect plan.
Cash Stuffing Binder Ideas for Low Income: Real Examples
It helps to see real numbers. Here are three actual binder setups based on different income levels.
BINDER SETUP 1 — $800/month income:
| Envelope | Amount |
| Groceries | $200 |
| Gas | $60 |
| Household | $25 |
| Fun Money | $15 |
| TOTAL CASH | $300 |
Note: The remaining $500 goes directly to fixed bills like rent and utilities online.
BINDER SETUP 2 — $1,200/month income:
| Envelope | Amount |
| Groceries | $250 |
| Gas | $80 |
| Eating Out | $30 |
| Household | $35 |
| Medical | $25 |
| Fun Money | $20 |
| TOTAL CASH | $440 |
BINDER SETUP 3 — $1,800/month income:
| Envelope | Amount |
| Groceries | $300 |
| Gas | $100 |
| Household | $50 |
| Kids/School | $50 |
| Medical | $30 |
| Car Repair Fund | $40 |
| Christmas Fund | $30 |
| Fun Money | $30 |
| TOTAL CASH | $630 |
These are examples only. Your actual numbers will look completely different based on your specific life. And that is okay.
Common Cash Stuffing Binder Mistakes
We all mess up. Do not beat yourself up when it happens.
1: Making It Too Complicated
Trying to manage 20 categories on day one guarantees burnout. Start with 4. Keep it stupidly simple.
2: Buying Expensive Supplies First
A $40 aesthetic leather binder does absolutely nothing that a $2 Tree binder cannot. Save your money for the actual envelopes.
3: Not Stuffing on Payday
Wait even one day, and the money is gone. You will swipe your debit card for convenience. Stuff your envelopes the exact moment cash is in your hand.
4: Robbing One Envelope for Another
Moving grocery money into your fun money envelope is how the entire system breaks down. You have to respect the boundary of each envelope.
5: Giving Up After One Bad Week
One messy week does not mean the system failed. It means you are human. Slipping up is one of those money habits that keep you poor only if you decide to quit entirely.
Messy progress still beats perfect paralysis.
5 Ways to Make Your Binder System Actually Work
1: Decorate it — make it yours
You are significantly more likely to use something you actually like looking at. Put stickers on it. Draw on it. Make it yours.
2: Keep it visible — not hidden
A binder sitting on the kitchen counter beats one buried in a dark drawer every single time. Out of sight means out of mind.
3: Do a Sunday money date
Take exactly 5 minutes every Sunday. Check your envelope balances, plan for the upcoming week, and adjust your mindset if needed.
4: Use a cash stuffing tracker sheet
Track every single withdrawal inside the binder. Writing down a running balance keeps you brutally honest with yourself.
5: Take a photo of full envelopes on payday
That visual reminder of what “full” looks like motivates you all month long. When you are feeling broke on day 20, look at the photo.
Conclusion
The relief of finally having a system ready is hard to describe. No more wondering where your paycheck went. No more holding your breath at the grocery store checkout lane. You finally have a roadmap.

Your setup does not need to be perfect. It definitely does not need to be pretty. It just needs to be functional. Choosing the right cash stuffing binder categories gives you the boundaries your money desperately needs.
Now tell me — which cash-stuffing binder category are you starting with? Drop it in the comments — I read every single one.
And honestly? Starting messy is still starting. Your wallet will thank you
Still have questions? These are the ones I get asked most about: cash stuffing, binder categories:
Frequently Asked Questions
An A6 binder is the most popular choice because it is completely purse-friendly. The paper cash fits perfectly without needing to be folded. It is small enough to carry anywhere but large enough to hold all your tracking sheets securely.
A beginner should strictly stick to a maximum of 4 to 6 categories. You want to start incredibly small so you do not get overwhelmed. Master your absolute essentials like groceries and gas before you ever try to track 15 different envelopes.
Yes, any binder works perfectly fine. You can use a standard letter-size binder from your local dollar store. Just buy some cheap plastic pencil pouches that clip into the rings, and you have an instant budgeting system.
A binder is a fully organized system, while loose envelopes are just a simple starting point. Binders keep all your pouches clipped in safely, offer space for tracking sheets, and prevent your grocery cash from getting crushed or lost in your bag.
Take your total monthly income and subtract your fixed automatic bills first. Take the remaining cash amount and divide it into your categories based on your actual past spending habits. Adjust the amounts slightly each month until it feels right.
No, it works beautifully for any income level. However, it is an absolute lifesaver for low-income earners because it completely stops accidental overspending. When the cash is gone, you cannot physically spend any more.